Showing posts with label Tutorial. Show all posts

Tuesday, February 4, 2014

Sweet.

Hi everyone! Today I'm sharing images of me building a layout. 
I used the lovely Scraptastic kit, add on and stamp set, Feel Again.
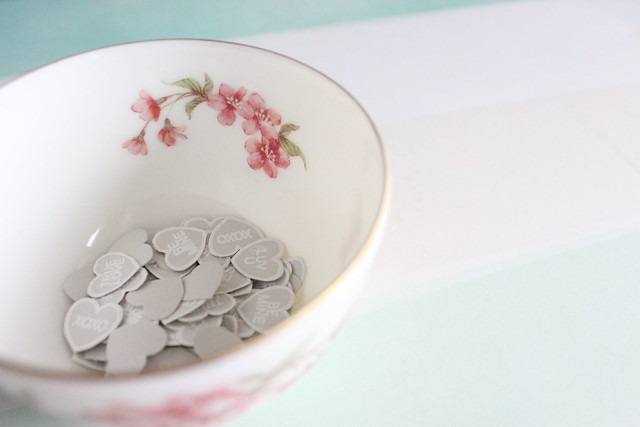
I started out by using some white embossing powder to emboss the adorable hearts from the stamp set and hand cut them out. (took forever but worth it!)
IMG_9646

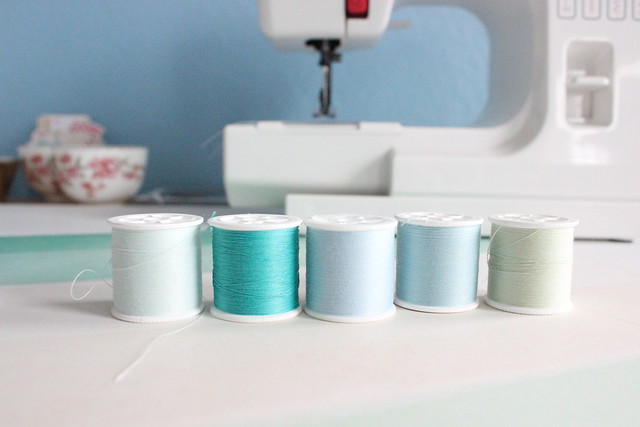
I then picked out five different color threads in blues and greens to use for my garlands
IMG_9649

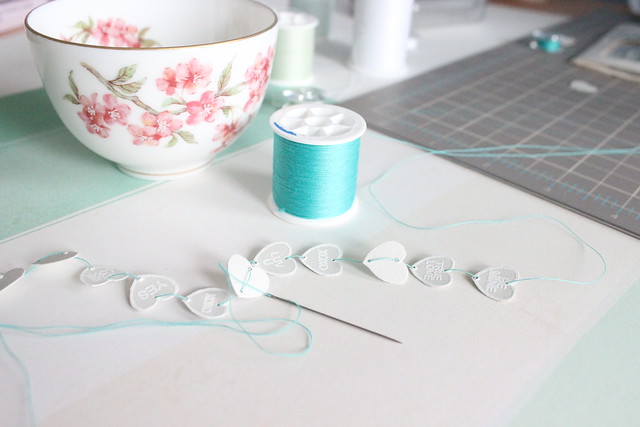
I went to use my sewing machine but the hearts are so little it jammed up. Instead I hand stitched each garland which took forever but I ended up liking it more than if I used the sewing machine. It allowed the phrases on the embossed hearts to stand out more :)
IMG_9651
I made sure to add a knot at the bottom of each heart so they wouldn't slide around on the thread.

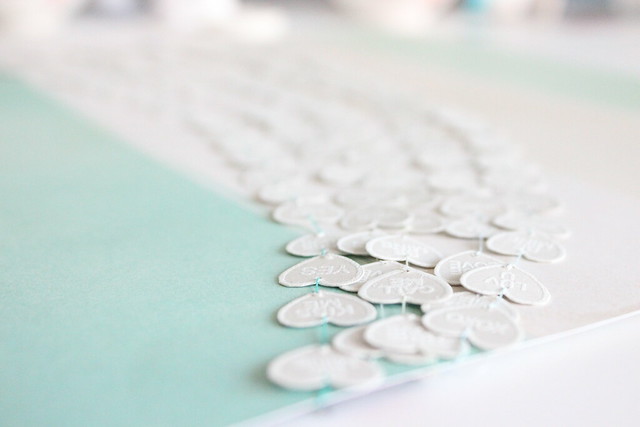
I laid each garland on my page one by one and attached it to the back using washi tape. 
IMG_9657

I secured a few of the hearts with some ATG tape so they wouldn't flip around
IMG_9656

I picked out just a few embellishments for this page since I really want the garlands to stand out. 
IMG_9658
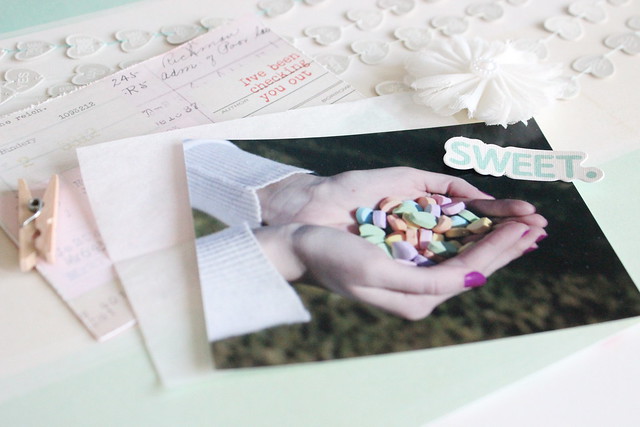
I layered my photo on a piece of tissue paper and layered that on a piece of patterned paper from the kit, clipped it together with a small clothes pin and added a die cut for my title. 

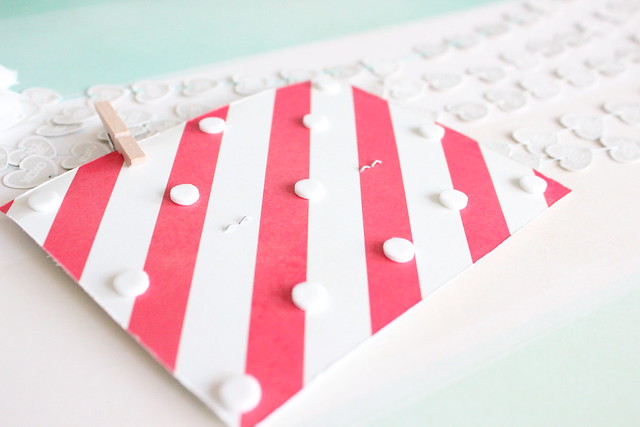
I then stuck my photo cluster to the page with some pop dots
IMG_9661

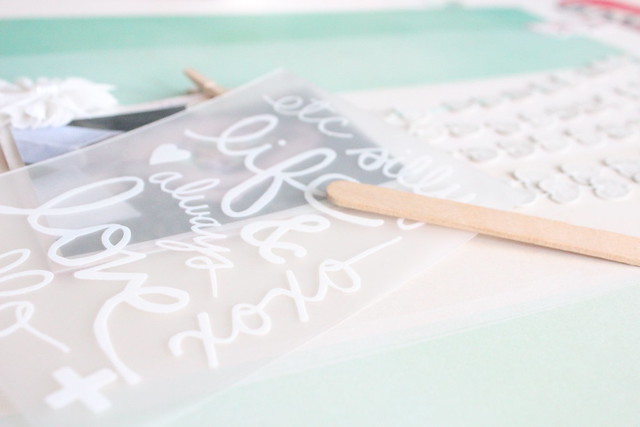
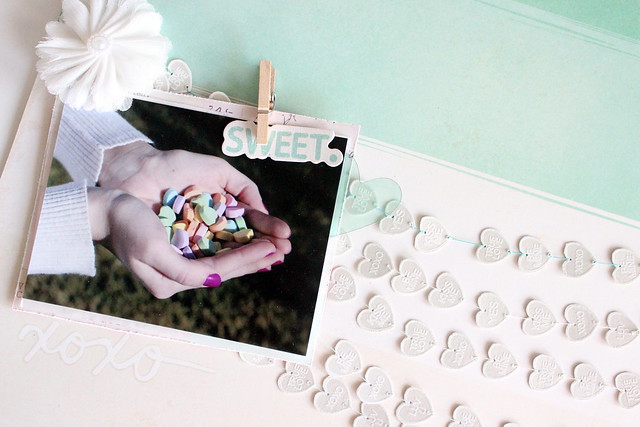
I added a cute rub on from the add on kit underneath my photo and a clear heart to my photo cluster
IMG_9662

IMG_9673-001

And here is the finished page!
IMG_9666-001
Thanks so much for stopping by! 
Don't forget to see what all the other DT members are making with their kits over on the Scraptastic blog!
Happy Scrapping!

mini logo

Monday, January 9, 2012

Paper Garland Tutorial!

Hey everyone!! I wanted to share an easy tutorial with you!
Last night I learned how to make a paper garland (I rencently recieved my sewing machine and have been trying new things!!) This project is super quick and easy to make! It is also very inexpensive and adds the perfect handmade touch during the holidays or parties.
Step 8
Lets get started!

Step 1:
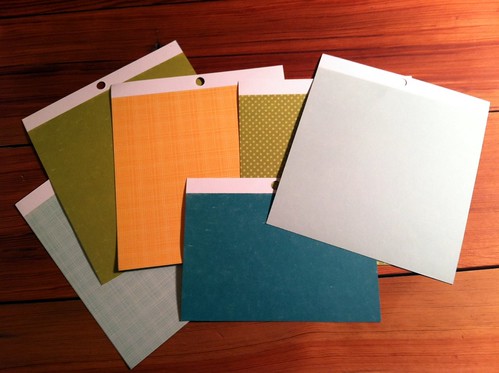
Step 1
*Select the papers or cardstocks you would like to use. Make sure you use double sided papers since both sides will be showing. I used three different patterns of double sided papers. These are from the Echo Park "a walk in the park" 6x6 paper pad.
Step 2:
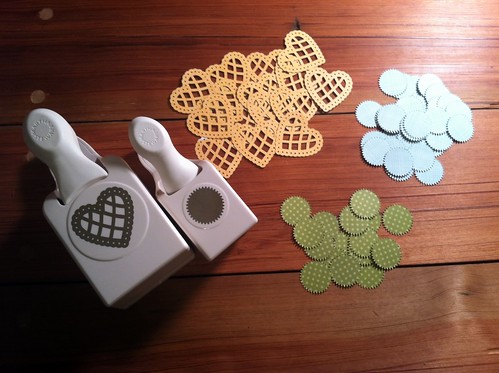
Step 2
*Select which punches or die-cuts you would like to use. Punch out as many or as little as you would like depending on the lenght you want your garland to be. I punched a total of 63 shapes.
Step 3:
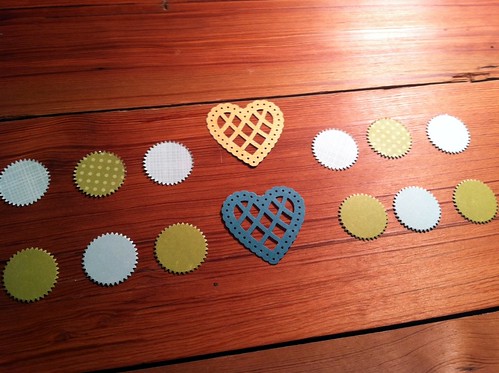
Step 3
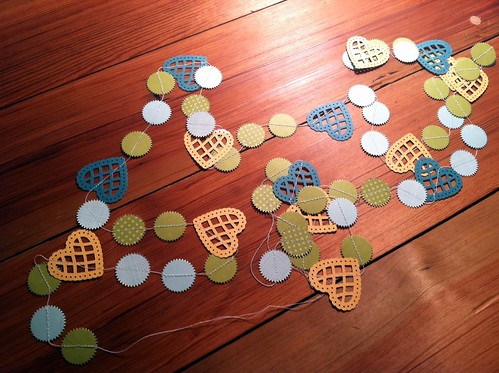
You can lay out a pattern if you like or randomly sew the pieces together. The top row the is front side of the papers and the bottom row is the back :)
Steps 4 and 5:
1234
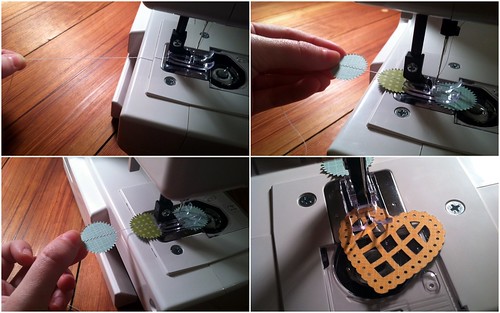
*Get ready to sew. You can use different color threads if you like, I am using white for the top thread and the bobbin. Be sure to direct the thread towards the back of the machine and tie a knot with the threads.
 *Make sure your straight stitch setting is on the smallest stitch.
*Run the machine about three inches before placing any of the papers in. Guide the thread without pulling on it.  
*Start sewing the shapes in the pattern you'd like.
*Let the machine run about half an inch in between each shape.
*With the hearts I like to put them through the machine different ways so when the garland hangs they face different directions.
*Once you get to the end let the machine run again for three inches. You can leave the thread hanging off if you like or you can tie it off at the paper and cut the extra thread off.
Step 10
Suuuper easy!
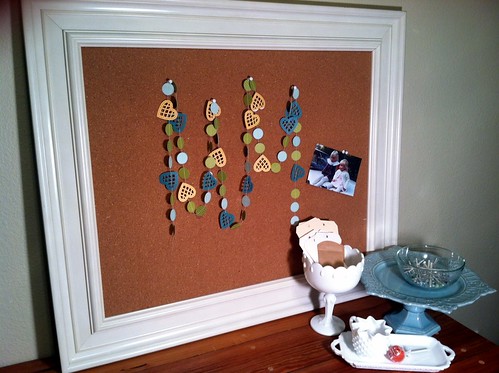
These would be perfect to hang on your Christmas tree, use for a New Years party, a birthday party, Halloween, anything!! I love these since they are a decoration that you don't feel stuck with due to cost! I hope you give it a try!!
If you have any questions please leave me a comment and I will be happy to answer!
Thank you for stopping by!! :)

What is your favorite handmade home decor?