Showing posts with label 12x12. Show all posts

Sunday, August 3, 2014

Hello Lovely Bella

Hello everyone!
Today I have a layout to share using a mix of supplies and a favorite photo!
IMG_0576-001
For my background I used an Echo Park paper/Allison Kreft paper that came in a previous Scraptastic Club kit along with the "sweet little moments" stamp! For my layers I used a doily, a Studio Calico paper and label, some older Crate Paper die cuts, a white tag and some star paper from Me & My Big Ideas.

IMG_0574-001
The wood veneer flowers are from the Freckled Fawn May kit which I absolutely LOVE! Along with the flair that I got as a freebie for joining the kit club:)

IMG_0571-001
The foam letter stickers are also from the Freckled Fawn May kit. I used a Teresa Collins sticker to add under my title and some enamel dots!

IMG_0570-001
I got that "Love" die cut from Findingnana back in the day. I love the extra layer it gives!
I finished off my page by adding some stitching a stamped hearts from a Glitz Design stamp set!
Loving the way this all came together!!
Happy Scrapping!
xoxo

Saturday, June 21, 2014

And So It Begins

Hello there! 
Today I'm sharing a layout I made with the June Scraptastic Club kit and add on, The Best Day of My Life.
I went ahead and pulled out papers and embellishments from the kits that went along with my photo. 
I decided to cut out a bunch of little strips and this is what I got!
IMG_0579-001
I love how all the colors go together but this is a great way to add a lot of pattern without making the page look so busy. Not to mention it's always a great way to use up scraps you might have laying around!

IMG_0582-001
I stitched on each strip along with a row of wood grain sequins that came in an older kit. I stamped the date at the bottom using the Prima ink you receive as an extra goody!

IMG_0583-001
I used a sticker for my title and took one of the paper bows off the clothes pin. I also added a couple of embellishments to the paper strips and the number 26 for my age. Even though this isn't a Birthday layout I took the photo on my Birthday and I captured that using the glitter stickers and stamping the date :)

xoxo
mini logo

Sunday, June 1, 2014

Every Picture Records A Little Story

Helllo there!
I have a simple layout to share using a die cut as my title and main embellment!
When I got the email for the May Scraptastic Club kits I already fell in love with this die cut!!
Take a look!
IMG_9948-001
Love love love!!
Since I am still obsessed with using a white background for my page, I needed to add something to make my title pop. I took the Heidi Swapp Color Shine in the color Bronzer and sprayed twice fairly close to the page. I love how the gold shine stayed in the center and the brown mist came out evenly!
IMG_9949-001

IMG_9953-001
I added a wood veneer heart from an older kit under the title, put some patterned paper behind my photo, a tag and layered on some die cuts from the kits. Above my photo I added a little heart die cut I had in my stash!
Hope this inspires you to use a die cut for a title!!
Happy Scrapping!
xoxo
mini logo

Sunday, May 18, 2014

Hello Beautiful

Hi!
Sharing another layout I made using the May Scraptastic Club kit, The Story I Heard.
IMG_9956-001
I splattered on some Heidi Swapp Color Shine and layered a pretty paper behind my photo. I added some die cuts and little doilies I've had laying around. I took a white polaroid die cut and stuck that next to my photo for a little white on white detail, put a mint colored frame I made in the middle of that and added a little heart onto some pop dots for added dimension. Then I cut a couple of images from a patterned paper!
IMG_9959-001
I added some subtle stamping with the Daylight stamp set (adorable little phrases!!) and stuck the date underneath!
IMG_9958-001
I need to make more of these frames! I love the way it turned out :)
Thanks for stopping by!
xoxo
mini logo

Friday, April 18, 2014

Hello Today

Hello!
Today I'm sharing a layout I made using yellow and navy! 
This was a fun one to make... I've never used navy as a main color and I just love the way it looks paired with yellow!
IMG_9918-001

IMG_9924-001

IMG_9925-001

IMG_9923-001
Love love love the color combo! I also got to use my new navy blue Heidi Swapp mist and use a flair and some stickers I've had for a while now!
Have you made anything using navy blue lately? Leave me a link in the comments, I would love to see!
Thanks for stopping by!
xoxo
Thursday, April 3, 2014

you&me

Hi everyone!
Today I wanted to share my layout I posted over on Scraptastic Club. Madeline and I have a stitching challenge for you, so when you're done here don't forget to head on over to the post to check out her layout and to upload your project for a chance to win!!
(I used the Let Me Go kits with bits from previous kits as well)

I feel like I haven't been stitching on my pages like I used to, so I was excited to get to it again!
IMG_9764-001
Recently my friend Chelsea and I headed up to Sedona for a little hiking. I sort of stole the maps from her knowing I would love to add bits and pieces to the layouts from our trip. I went ahead and cut a piece if the map, stitched it down and got three piece of patterned paper to stitch down as well. I love the way the stitching make my page look complete!

IMG_9777-001
I'll admit, I've been hoarding this you&me wood veneer piece from an older kit to use with the perfect photo... and I'm glad I found a home for it! Also, this month Scraptastic has introduced cork embellishments to the kits and oooh my!... isn't that globe adorable!? I also used both the Let Me Go and the Worth Wondering stamp set on this page... Love adding the little geotags in with my mist splatters!

IMG_9776-001
I took a rub on from my stash to add to the whole travel/adventure theme and I ruffed up the edges of the papers where I stitched them down.

IMG_9778-001
I added a die cut piece and a tab from the kit. I also left the tails of my stitching for an added messy look. Sometimes I like a clean look and cut them but I was feeling it for this page ;)

So there you have it! I challenge you to sew on your page, it can be with a machine or by hand. And don't forget to upload your project to the bottom of this blog post for a chance to win! 
Thanks for stopping by!
xoxo
mini logo
Wednesday, April 2, 2014

Here We Go (times two)

Hey everyone! I have two layouts to share with you today using the same title.
I figure it doesn't hurt to use a title more than once especially when the layouts are going into separate albums. 
Here is the first page!
IMG_9739-001
I took a vellum envelope from my stash and filled it with some alphas that came in the March Scraptastic kit. I also threw in some sequins from an older kit and some punched circles. I then just started to layer from there using patterned papers, die cuts, tags, stamped images and puffy stickers.
Here are some close ups!

IMG_9740-001
I went ahead and added some foam squares to let the layers pop off the envelope.

IMG_9743-001
I just love all these bright colors on this background paper!

Here is layout number 2!
IMG_9747-001
I kept this page really simple since the title gives such a huge impact. I just added some splatters to the background and a few embellishments here and there. 

IMG_9749-001
I just love that little airplane puffy sticker!

IMG_9751-001
I stamped the word journey onto a label from the kit, added another puffy sticker and a little enamel heart!
Since I took so many photos in the plane I have an insert page to share also...
IMG_9745-001
I just added a block of patterned paper and two stickers to tie in with the 12x12 page. 

Thanks for stopping by!!
mini logo

Wednesday, March 12, 2014

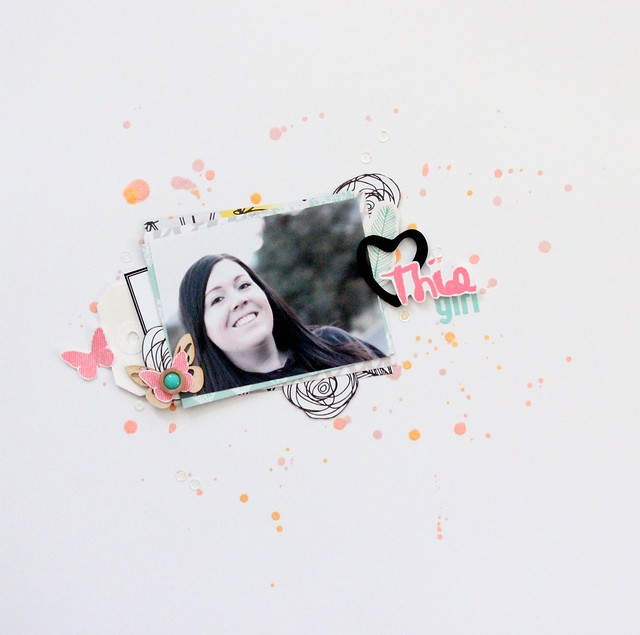
Heart This Girl

Hi everyone! Today I want to share I layout I posted over on the Scraptastic Club Blog using the March Lost In My Mind kit and add on. 
There was a discussion over in the forum talking about using a white background. I know some people are over it or think it's boring but I'm still in love it with. I tend to get stuck when I use a solid bold color as my starting point and if I use a patterned background I find myself using less embellishments on the page. I like to keep the focus on the photo while adding lots of tiny details. 
Here's my page with my white background.
IMG_9690-002
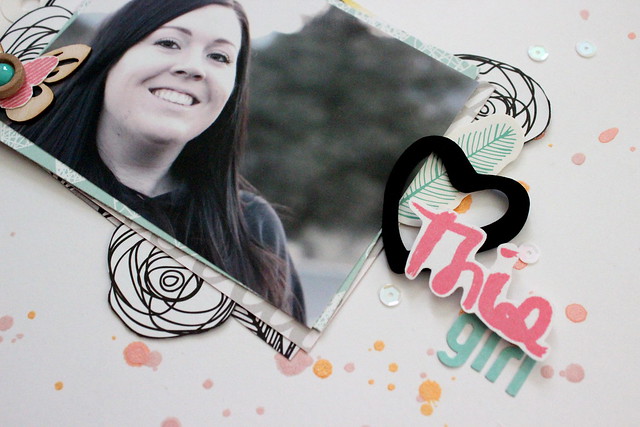
I used three colors of Heidi Swapp mists to add some color to the page. I layered some pretty papers and embellishments, stamped a couple things and I was happy.

IMG_9695-002
I used the Lost In My Mind stamp set and stamped "this" with some Heidi Swapp ink and cut out a couple flowers from a patterned paper to use as embellishments. 

IMG_9704-002
I made a little butterfly embellishment using a wood veneer piece from the kit, a stamp from my stash and a cute wood/enamel dot from the kit. 

So what are your thoughts on a white background? I would love to hear. Are you growing tired of it? For me it's something that is timeless and I'm sure I will continue to use a white page with the occasional patterned background here and there. 
Thanks so much for stopping by!

mini logo

Tuesday, February 4, 2014

Sweet.

Hi everyone! Today I'm sharing images of me building a layout. 
I used the lovely Scraptastic kit, add on and stamp set, Feel Again.
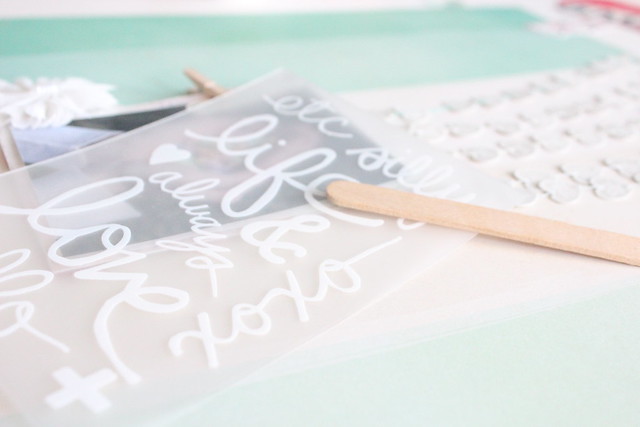
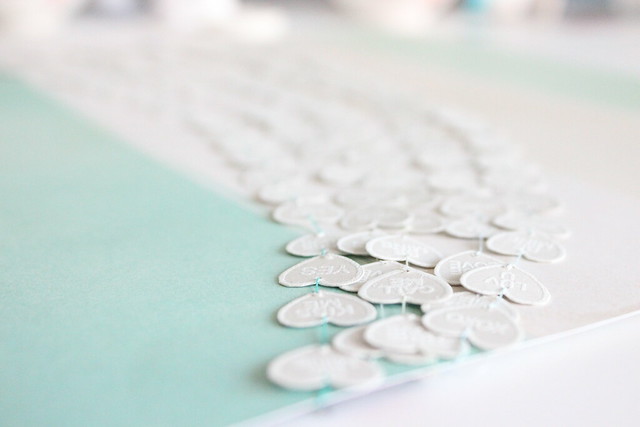
I started out by using some white embossing powder to emboss the adorable hearts from the stamp set and hand cut them out. (took forever but worth it!)
IMG_9646

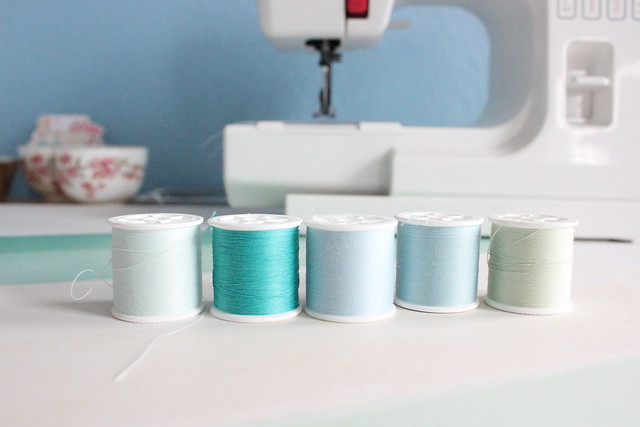
I then picked out five different color threads in blues and greens to use for my garlands
IMG_9649

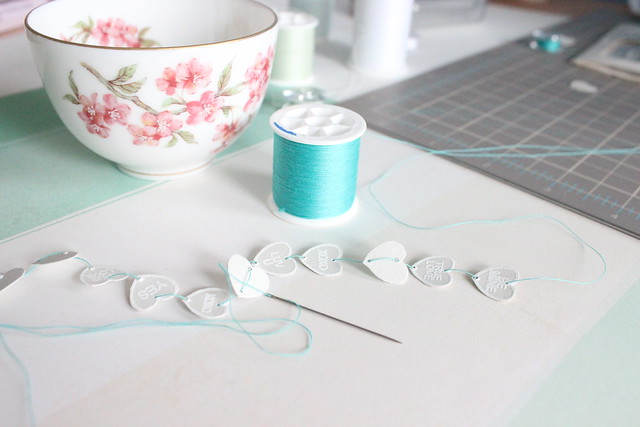
I went to use my sewing machine but the hearts are so little it jammed up. Instead I hand stitched each garland which took forever but I ended up liking it more than if I used the sewing machine. It allowed the phrases on the embossed hearts to stand out more :)
IMG_9651
I made sure to add a knot at the bottom of each heart so they wouldn't slide around on the thread.

I laid each garland on my page one by one and attached it to the back using washi tape. 
IMG_9657

I secured a few of the hearts with some ATG tape so they wouldn't flip around
IMG_9656

I picked out just a few embellishments for this page since I really want the garlands to stand out. 
IMG_9658
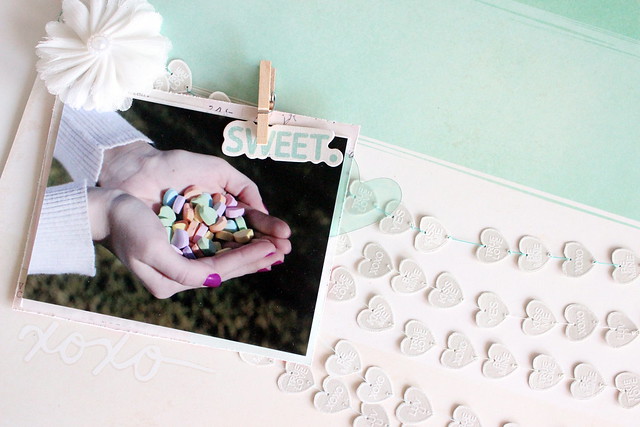
I layered my photo on a piece of tissue paper and layered that on a piece of patterned paper from the kit, clipped it together with a small clothes pin and added a die cut for my title. 

I then stuck my photo cluster to the page with some pop dots
IMG_9661

I added a cute rub on from the add on kit underneath my photo and a clear heart to my photo cluster
IMG_9662

IMG_9673-001

And here is the finished page!
IMG_9666-001
Thanks so much for stopping by! 
Don't forget to see what all the other DT members are making with their kits over on the Scraptastic blog!
Happy Scrapping!

mini logo

Tuesday, January 28, 2014

#BFF

Hi everyone! So I was looking around my YouTube channel and came across a video set to private that I totally forgot about!! 
So today I have a layout and video for you! Yay! It's been forever since I've been able to make a video so this was a pleasant surprise! 
Here is the page I made!
IMG_8598-001

IMG_8540-001

IMG_8614-001

IMG_8607-001
IMG_8606-001
And now onto the video!!!

Thanks so much for stopping by! 
Have a great day!