Showing posts with label Christmas. Show all posts

Sunday, December 8, 2013

Christmas Countdown Base

Hello hello!
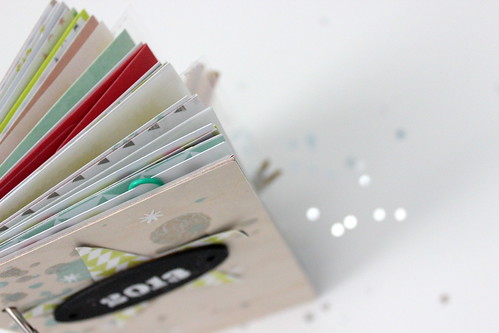
Today I wanted to share the base of my mini using the Christmas Countdown kit and the supplies I pulled to add to the kit. I won't be adding a photo a day but I will be adding all my Christmas type photos to this lovely album. Can't wait until family come to visit!!
IMG_8633-001 bright
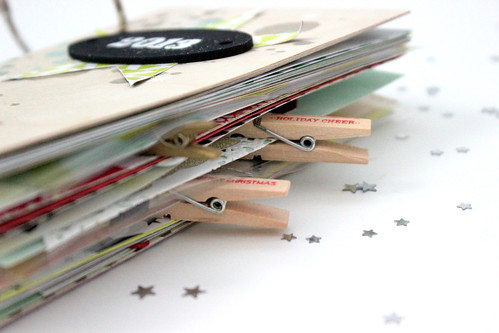
I went ahead and punched holes in the wood cover and papers and put them in order. I left a lot of the papers out just in case I want to make some embellishments with them. Also, nothing is permanent, I'm sure once I start adding the photos I will end up moving some pages around. 

IMG_8658-001 bright
For the cover I wanted to keep most of the wood showing. I took the paint I used to paint the frame embellishments I made for the kit and added some splatters to the cover. My paint was super cold and I didn't like the way it turned out at first but once I added everything else I was happy with it. I embossed some little snowflakes to the cover, added the star die-cut that came in the kit, embossed the year on a chalkboard piece and was finished! 
IMG_8644-001 bright
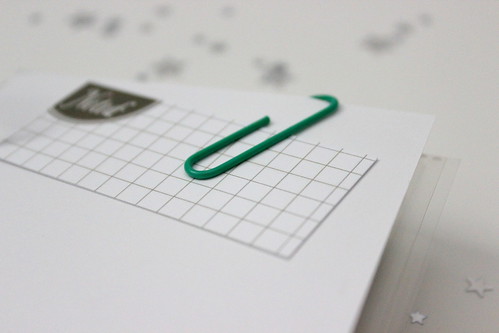
I went through my little labels and found a ton that go great with this kit, took a paper clip from the kit and stuck it on a page.
IMG_8646-001 bright
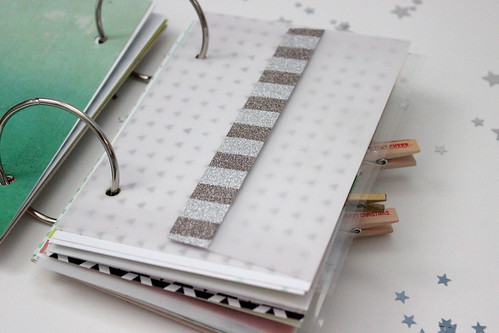
I took the pretty glitter paper, cut a strip and added it to the vellum envelope!
IMG_8647-001 bright
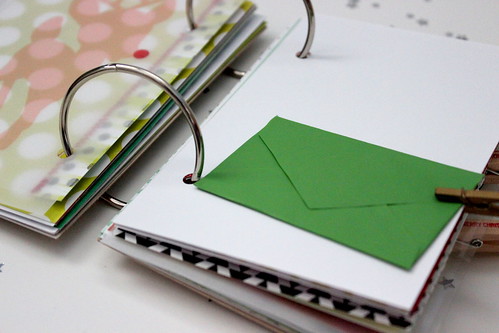
I've had this adorable green envelope forever and have been wanting to use it. Perfect for this mini :)

IMG_8649-001 bright
Clipped a custom print that came in the clip to a page.
IMG_8651-001 bright
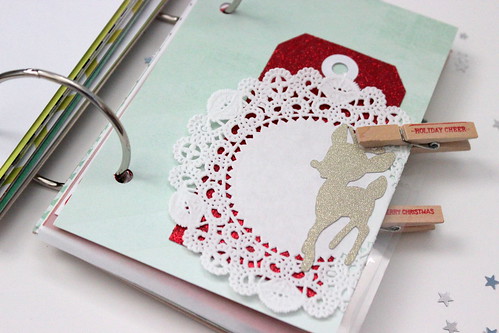
I used a doily, glued down just the edge, stuck a tag behind, an adorable deer on top and a cute clothes pin!
IMG_8652-001 bright
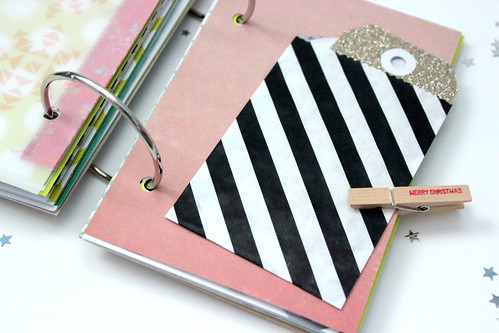
Clipped on a cute bag and stuck a glittered tag inside.
IMG_8653-001 bright
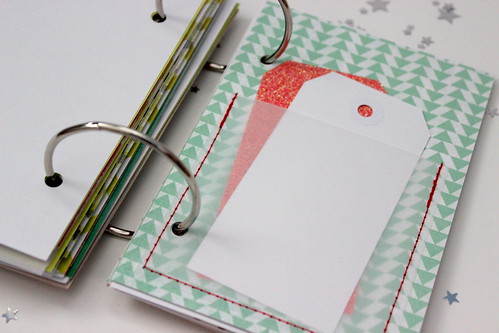
Carrie added some custom pocket pages to the kit, so cute, great for tags and tid bits!
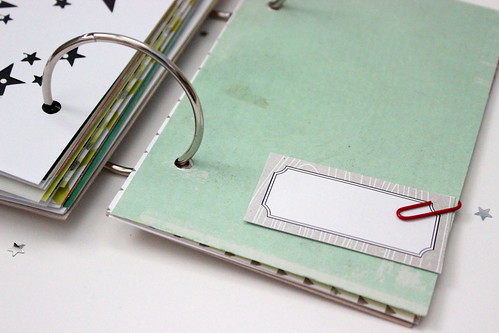
IMG_8654-001 bright
Clipped on another label!

IMG_8639-001 bright
Loving the way it's turning out and can't wait to add photos and more embellishments!

IMG_8637-001 bright

Are you making an album for December? Leave the links in the comment so I can check it out!
Thanks so much for stopping by!!
:)

Thursday, December 13, 2012

Get Inspired :: DIY Christmas Tag

Hello there! So it's almost that time... Yes, Christmas!
Although it doesn't feel like it here in Arizona I have been trying to get into the spirit with some Christmas crafting. I love cute packaging, and although it can be a little to much for every gift you're giving, it's nice to make those extra special gifts a little more on the fancy side. So here is a DIY Christmas tag!

IMG_1717-002


Here are the supplies I'm using
IMG_1664-001
Grab some scrap white cardstock, any circle design stamp and label stamp, a circle punch that will fit the largest circle stamp (or you can old fashion hand-cut it), any printed vellum (this leopard print is from Hobby Lobby), embossing ink and powder (don't forget the heat gun), a stapler or mini attacher, a hole punch, a star punch or a different shape if you prefer, some colored ink, some coordinating bakers twine, a glue pen and pop dots.


1. Stamp the large background design, in the color of your choice, onto some white cardstock and punch or cut it out (I am using a Studio Calico stamp with some Prima ink in the color Rock Moss)
IMG_1670-002

IMG_1672-001

IMG_1674-001


2. Punch a hole at the top of the circle.
IMG_1683-001


3. Next take your lovely vellum and punch out three stars (or any other shape you like)!
IMG_1685-001


4. Take a glue pen and add a dab of glue to the stars and place them on the circle. You can skip this step if you like and staple them straight on (I'm not very coordinated for this lol)
IMG_1687-001

IMG_1689-001


5. Take the same white paper, embossing ink and powder and a circle label stamp and emboss away!
The stamp I used was from an old Pink Paislee stamp set. I used silver embossing powder from Michaels and distress embossing ink since it was all I had on hand, I would suggest a better one though. 
IMG_1675-001


6. Cut out the image and ink up the edges with that same green ink if you like. Then place some pop dots on the back of the label and add it to the larger circle.
IMG_1680-001

IMG_1690-001

IMG_1692-001


7. Now add some twine to the tag and you are all set!!
IMG_1695-001


IMG_1700-002 link

IMG_1708-005 link

Let me know if I inspired you to make a tag! I would love to see what you came up with! Tag me on Instagram (KraftyBuns) or add it to Facebook (KraftyBuns) so I can check yours out!
I have some more tags I will be posting so stay tuned for those! 
Thanks for stopping by!!